
I Built a Jamming-Resistant Home Security System After My Neighbour Got Broken Into
After a break-in on my street, I replaced my Ring setup with a wired, jamming-resistant UniFi Protect system — and learned a lot the hard way. Here’s the full build: cameras, recorder, rack, power backup, and the mistakes I made so you don’t have to.
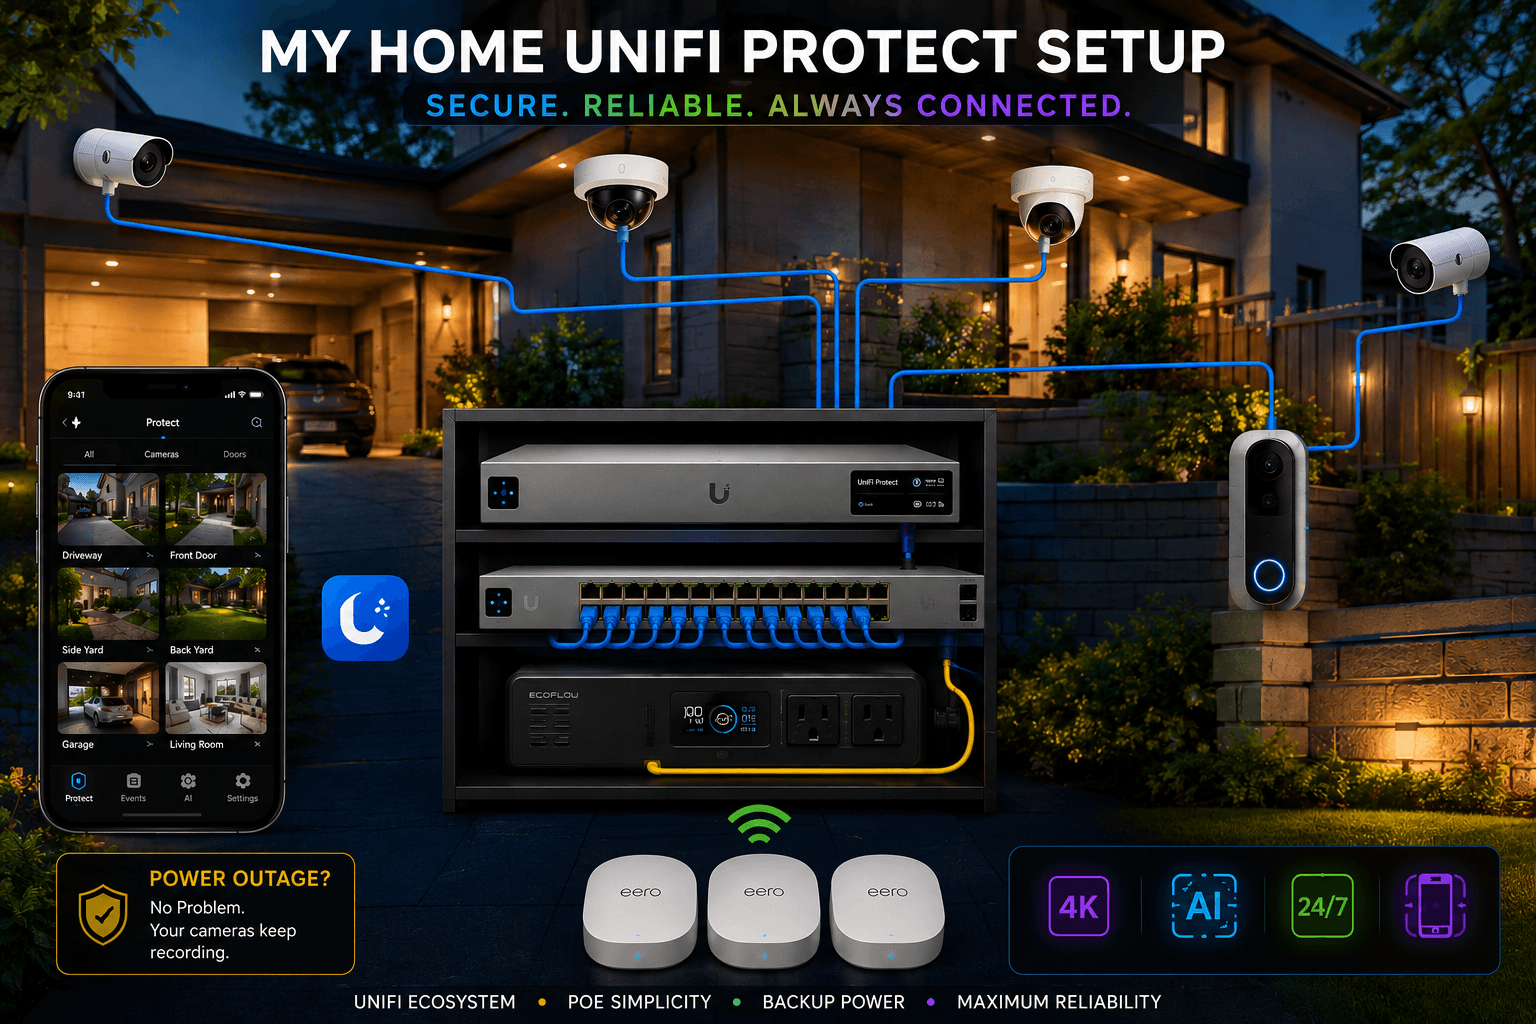
A few weeks ago, my neighbour’s house got broken into. What stuck with me wasn’t just the break-in — it was how. They had cameras. Wireless ones. And the one detail that changed how I think about home security: the crew had jammed the signal, and the cameras caught nothing useful.
I already ran a Ring system with professional monitoring, and I like Ring. But that story sent me down a rabbit hole, and I came out the other side with a completely different philosophy — and a fully wired, jamming-resistant UniFi Protect system built around it.
This is the honest, start-to-finish journey: what I planned, what I bought, what I got wrong (twice, in some cases), and what I’d tell myself if I could start over. If you’re weighing a home camera system in 2026, I spent the money and made the mistakes so you don’t have to.
The Problem: Wireless-only security systems (Ring, Arlo, Blink) ride on RF that a cheap handheld jammer can knock out — and once the WiFi’s jammed, there’s nothing recording anywhere.
The Solution: A wired PoE camera system with a local recorder that keeps writing to disk regardless of internet, WiFi, or cellular — backed by battery, and kept as its own isolated “island” alongside my existing eero network.
Why Wireless-Only Cameras Fail (The Jamming Problem)

This is the part most people don’t know until it’s too late. A modern smash-and-grab crew doesn’t hack anything. They:
- Cut the internet at the outside box
- Jam WiFi (2.4/5 GHz) — killing every wireless camera and hub
- Jam cellular — killing LTE alarm backup
- Cut power — killing anything not on battery
Wireless cameras are defeated at step 2. And here’s the kicker I found while researching: the jammers that do this sell for under $50 online. Ring did add 24/7 continuous recording, but it’s cloud-only — so the moment the internet’s gone, nothing is being recorded, anywhere.
That reframed the whole project for me. The goal wasn’t “more cameras.” It was: no single action by an attacker — cut power, cut internet, jam WiFi, jam cellular, or even steal the recorder — should take out both detection and recording.
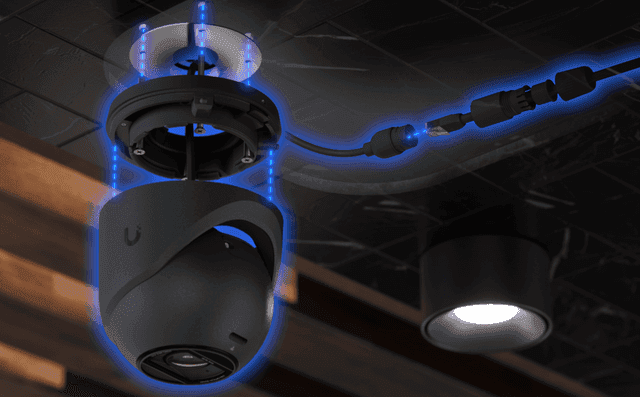
Wired PoE cameras keep recording even if the WiFi is jammed — that’s the entire point.
The Philosophy: Wired, Local, and Isolated

Three principles drove every decision:
- Wired beats wireless. PoE cameras connect by Ethernet. You cannot jam a cable. This one fact is the foundation.
- Local beats cloud. A recorder on-site keeps writing to its own disk with zero dependence on the internet. Cloud is a bonus copy, not the backbone.
- Isolated beats integrated. I kept my existing eero mesh for WiFi and built the camera system as its own self-contained “island” that doesn’t depend on it. (More on why below — this saved me from a much bigger, more expensive project.)
Ring didn’t get thrown out. It stayed as an independent second system — its monitored alarm and doorbell run in parallel. Two ecosystems, two failure domains. That’s redundancy you can’t get from a single vendor.
The Build, Layer by Layer

Cameras (the eyes)
I went with UniFi Protect G6 cameras — 4K, PoE, local recording, no subscription. For a corner lot, coverage matters more than camera count: both street-facing facades, the side yard, the rear, the driveway, and the garage.
One hard lesson on license plates: every G6 lists “license plate recognition,” but that’s misleading. Plate reading is about optics, not the AI flag. A basic G6 Bullet only reads plates up close and slow; the G6 Pro Bullet (2.36× optical zoom, larger sensor) is the one that actually resolves a plate at the street, at night. If plates matter, that’s a real distinction — not a spec-sheet checkbox.
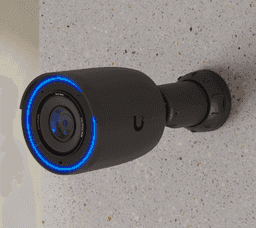
Garage coverage: mount high in the back corner, aimed at the doors, so daylight lands on faces — not behind them.
The recorder (the brain)
This is where I made my biggest back-and-forth. I started with the tiny UNVR Instant (built-in PoE, single drive) — perfect for 3–4 cameras. But as coverage grew past six cameras, I hit its ceiling, and I ended up swapping to the UNVR G2 (records up to 30× 4K, supports RAID for drive redundancy).
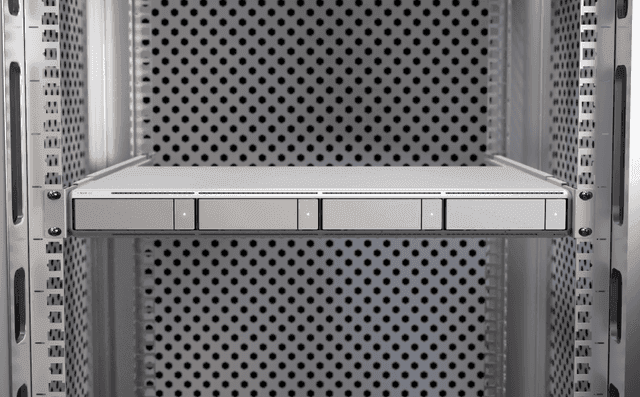
The lesson: if you know you’re going to expand — buy the bigger recorder once. The Instant is a great starter, but if your endgame is 7+ 4K cameras and drive redundancy, you’ll swap it. (Good news: swapping is a DIY job — cameras just re-adopt.)
Switch + power distribution
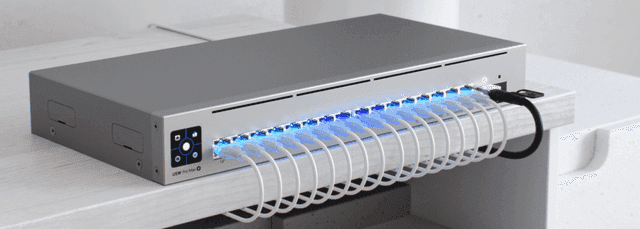
The UNVR G2 has no built-in PoE, so a UniFi Pro Max 16 PoE switch powers all the cameras, plus a floodlight and future sensors. A UniFi PDU Pro handles power distribution with per-outlet metering — which, bonus, told me my real rack draw so I could size the battery precisely.
The rack
Everything lives in a 12U glass-door wall cabinet in the basement network room, mounted into wood studs. (Honest tip: the sleeve anchors that came in a “just use these” baggie are for masonry — for wood studs you want ¼–5/16" × 3" lag screws into at least two studs. Hang it empty, then load it.)
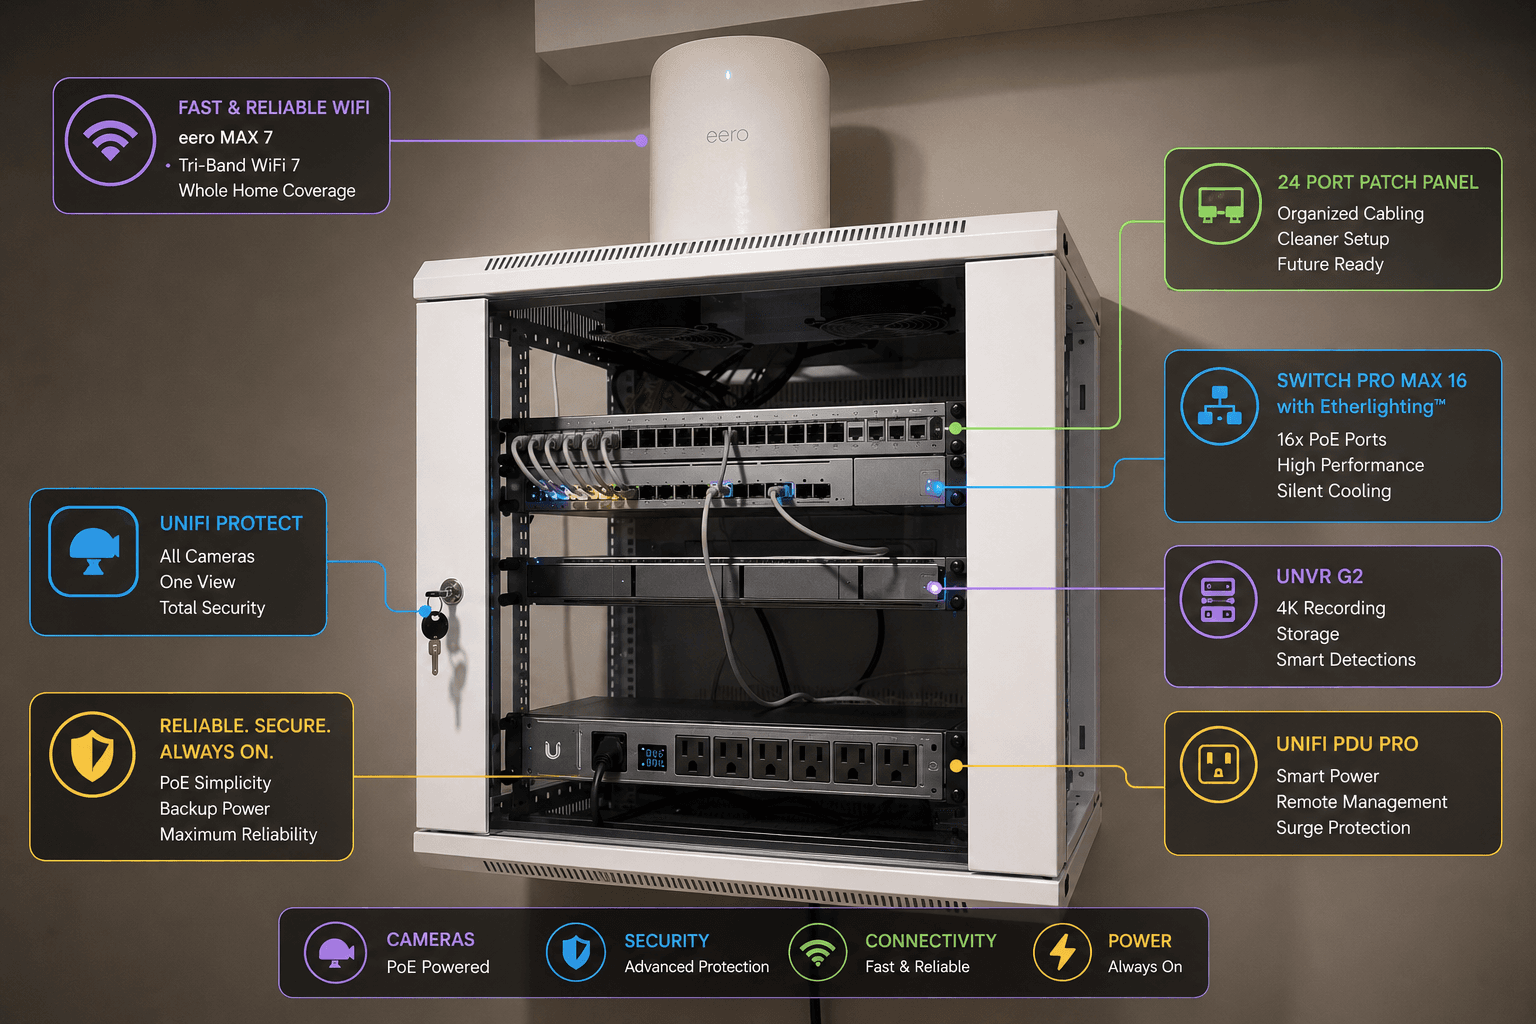
My layout - Patch panel up top, switch pro max 16, UNVR G2, airflow gap, then the PDU Pro at the bottom near the battery.
Power backup
The whole chain — ONT, gateway path, switch, and recorder — runs off an EcoFlow battery in UPS mode. Measured real draw came in around 75W average (far below my ~200W estimate), which meant I could size down the battery and still ride out a normal outage comfortably. Measure before you buy — spec sheets lie.
Network: the “camera island”
I run eero for whole-home WiFi and didn’t want to rip out three brand-new eero 7 Max units. So the cameras live on their own switch/recorder island, connected to eero by a single cable. eero does WiFi; UniFi does cameras. No conflict, no wasted hardware.
What Survives Each Attack

Here’s the whole design goal in one place — each attack, and what keeps working:
- Cut mains power — Battery carries the whole rack + cameras
- Cut the internet — Recorder keeps recording locally
- Jam WiFi — PoE cameras unaffected (all wired)
- Jam cellular — Local recording continues; local alerts fire
- Steal the recorder — Offsite clip backup preserves evidence
- Single drive failure — RAID keeps footage intact
No single move takes out both detection and recording. That’s the point.
Living With It: Tuning the Alerts
Recording everything is easy. Getting useful alerts without drowning in them is the real work — and it’s where I spent the most fiddling.
The setup that finally worked, Ring-style:
- Smart detection only (Person/Vehicle), never raw motion — kills false alerts from wind, shadows, and headlights.
- Detection zones so the driveway camera stops alerting on every car passing on the public street.
- Two layers: an always-on alert layer for baseline daytime awareness, and a separate armed profile for aggressive, loud nighttime alerts.
The gotcha that cost me hours: In UniFi’s Alarm Manager, if you put the same alarm into an armed profile, it overrides the always-on behavior — it only fires when armed. The fix is to keep always-on alarms and armed-profile alarms as separate alarms, even if they watch the same camera. This is poorly documented and counterintuitive.
What I’d Tell My Past Self
- Wire once, expand forever. Have the installers pull cable to every future camera spot in one visit, even the ones you’re not using yet. The labour is the expensive part; cameras are a 15-minute DIY add later.
- Buy the right recorder up front if you know you’ll grow. I swapped mine.
- You probably don’t need the AI Key. G6 cameras already do plate/face/person detection on-device; the AI Key mostly adds search polish you may never use.
- Measure your power draw before sizing a battery. Mine was a third of my estimate.
- Keep Ring. It’s a great independent second layer — don’t think of it as either/or.
- The camera “island” is underrated. You don’t have to rip out your mesh to go UniFi for cameras.
Conclusion
I started this because my neighbour got robbed and their cameras saw nothing. I ended up with a system where the cameras keep their eyes open through a power cut, an internet cut, a WiFi jam, and even the recorder being stolen — all while my eero mesh keeps doing what it’s good at.
Was it more work than clicking “buy” on a wireless kit? Yes. Did I make mistakes and buy a couple of things twice? Also yes — and I’ve documented those in a companion piece so you can skip them. But the result is a genuinely resilient, locally-owned, subscription-free security system that does the one thing my neighbour’s didn’t: it keeps recording when it matters most.
The single most important takeaway: In home security, the detection layer can always be defeated — sensors and alarms can be jammed. The recording layer is what you protect. Make it wired, make it local, and put it on battery. Everything else is detail.
Related reading
- How to Set Up an Eero Mesh Router with Bell HomeHub 4000
- Setting Up VLANs for IoT Devices
- UniFi Protect Setup Guide: Planning a Camera System That Actually Works (coming soon)
- 9 Mistakes I Made Building My UniFi Protect System (coming soon)


